by
by 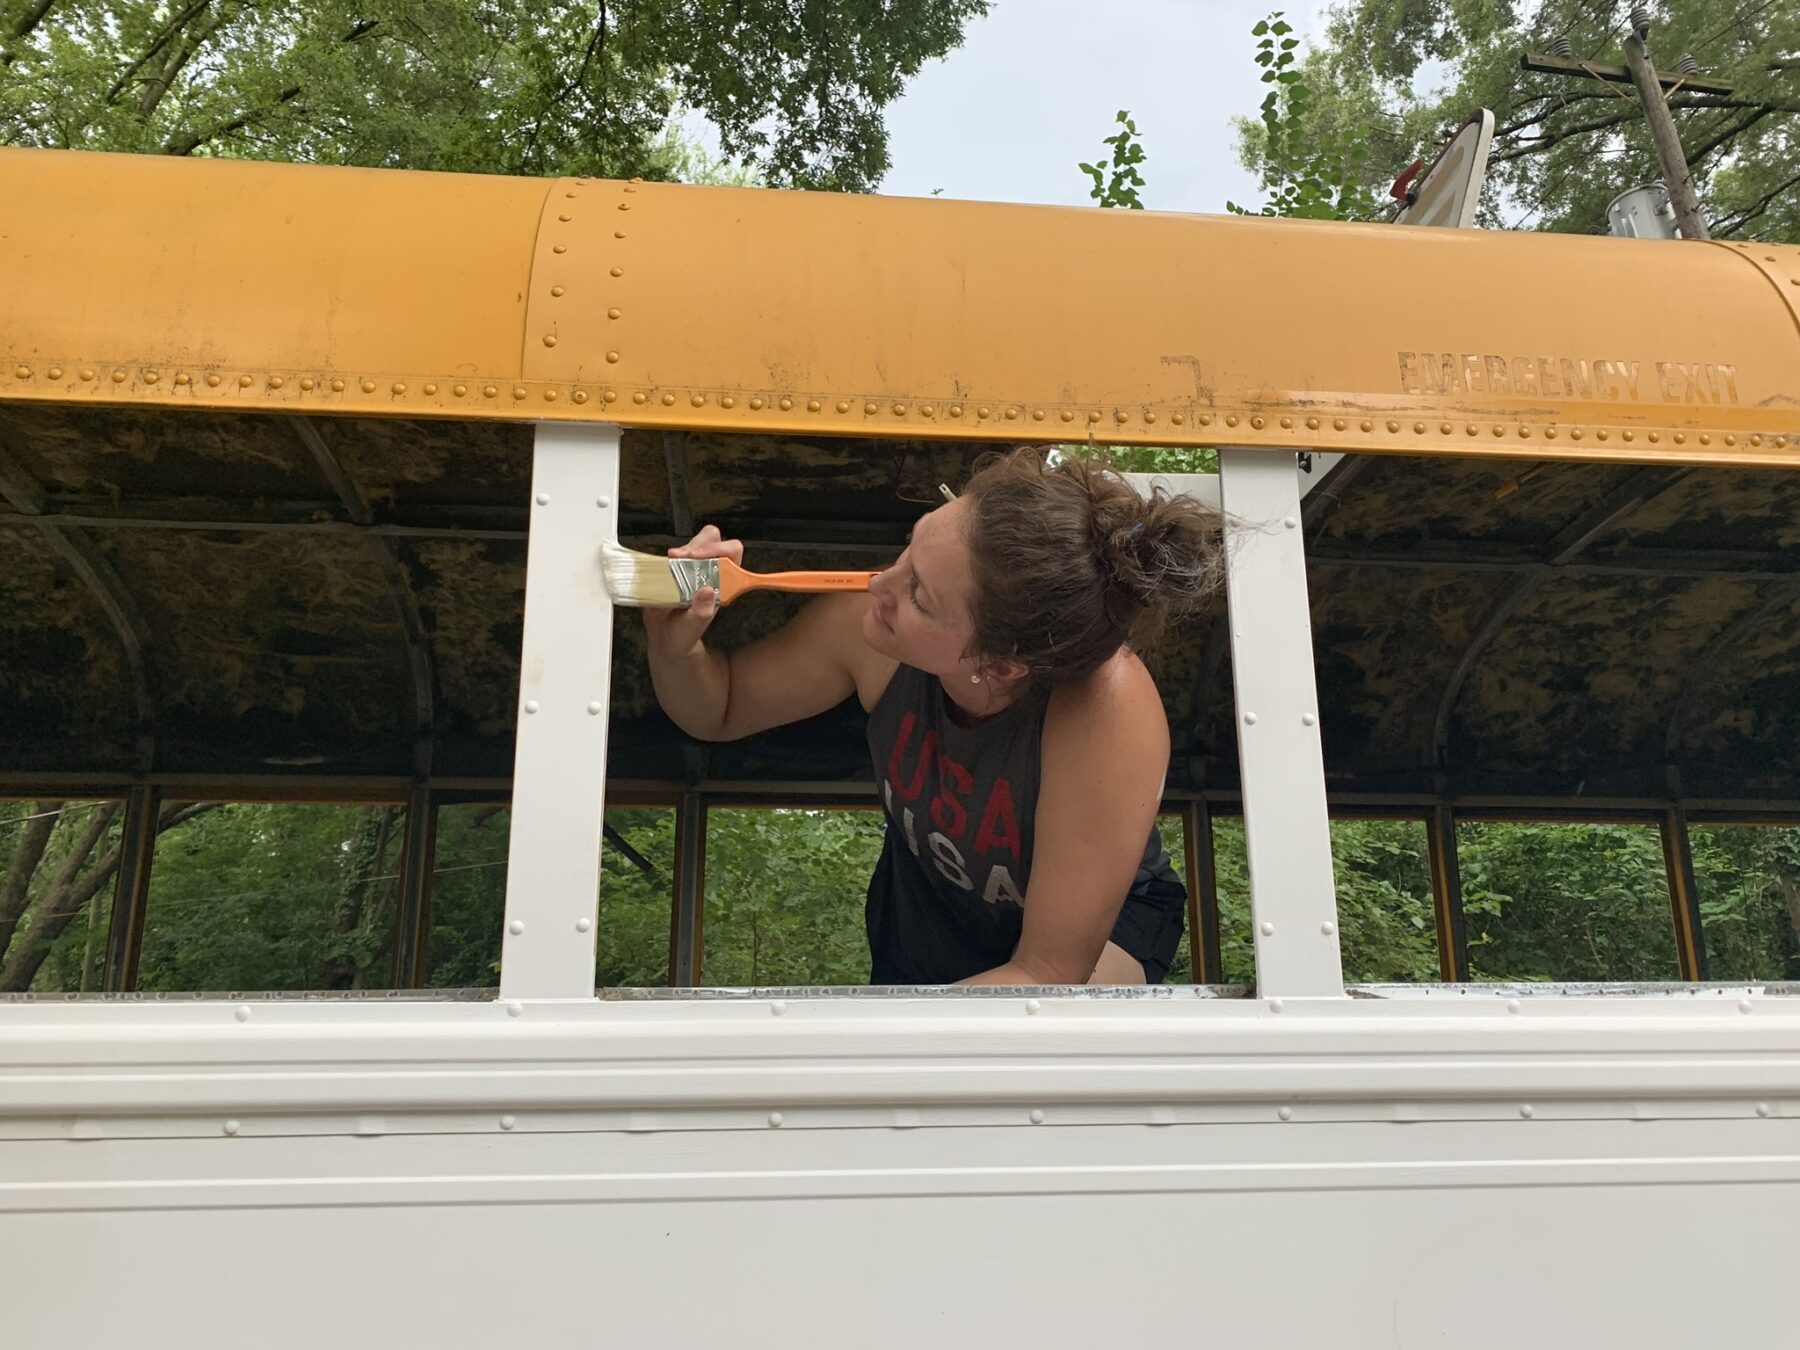
Painting was not done in a day. Like many projects on the bus, it took time and required more than one coat.
After we had prepped the area, I was eager to get to work and see some progress! I started painting right away while Mark was prepping other areas of the bus. I think the biggest mistake we made while painting was not thoroughly taping every where we didn’t want paint. I was so excited (and over confident in my ability to paint) that some paint did get on the tires and bumpers of the bus. This isn’t the end of the world, but did cause extra work later to try to remove the paint from unwanted areas.
Picking the paint
We looked at so many different colors and types of paint (an unlimited number of options). Ultimately we decided on the matte look and heard good things about Rustoleum High Performance Protective Enamel. We purchased it from Home Depot and had it shipped to our home. It comes with 2 gallons and was only about $60! Home Depot only sells one matte color, white, so that decision was made for us. I was pretty relived we didn’t have 20 options or who knows how long it would have taken for us to finally start painting!
Applying the paint
We used a few different paint applicators.
I used the foam roller for the bumpers and the window framing- this helped to get in all the grooves and not touch the window since I hated taping and was trying to cut corners by not taping everything (I would NOT recommend this, take the time to properly tape what you don’t want to get paint on! It will save you time in the long run).
I could only find foam rollers in smaller sizes at Home Depot so for the larger areas I used a regular roller that was designed for oil based paint.
Working with an oil based paint was very easy, but the downside is that it makes it very difficult to clean the brushes or rollers you use. I went through a lot of mineral spirits trying to clean/save brushes, but ultimately ended up using a new brush or roller for each new application of paint.
Shockingly, our white paint choice did a GREAT job covering the yellow and black of the bus! I anticipated needing to apply at least 3 coats to the entire bus to cover the extreme colors, but most areas only needed 2 coats. We did apply 3 coats to the black bumpers, but otherwise it was easier than I thought!
I had wanted to use the white matte as a primer and then be a little more artistic with our exterior paint, but after realizing how time consuming painting an entire bus can be, I am liking the matte white more and more.
 by
by