by
by 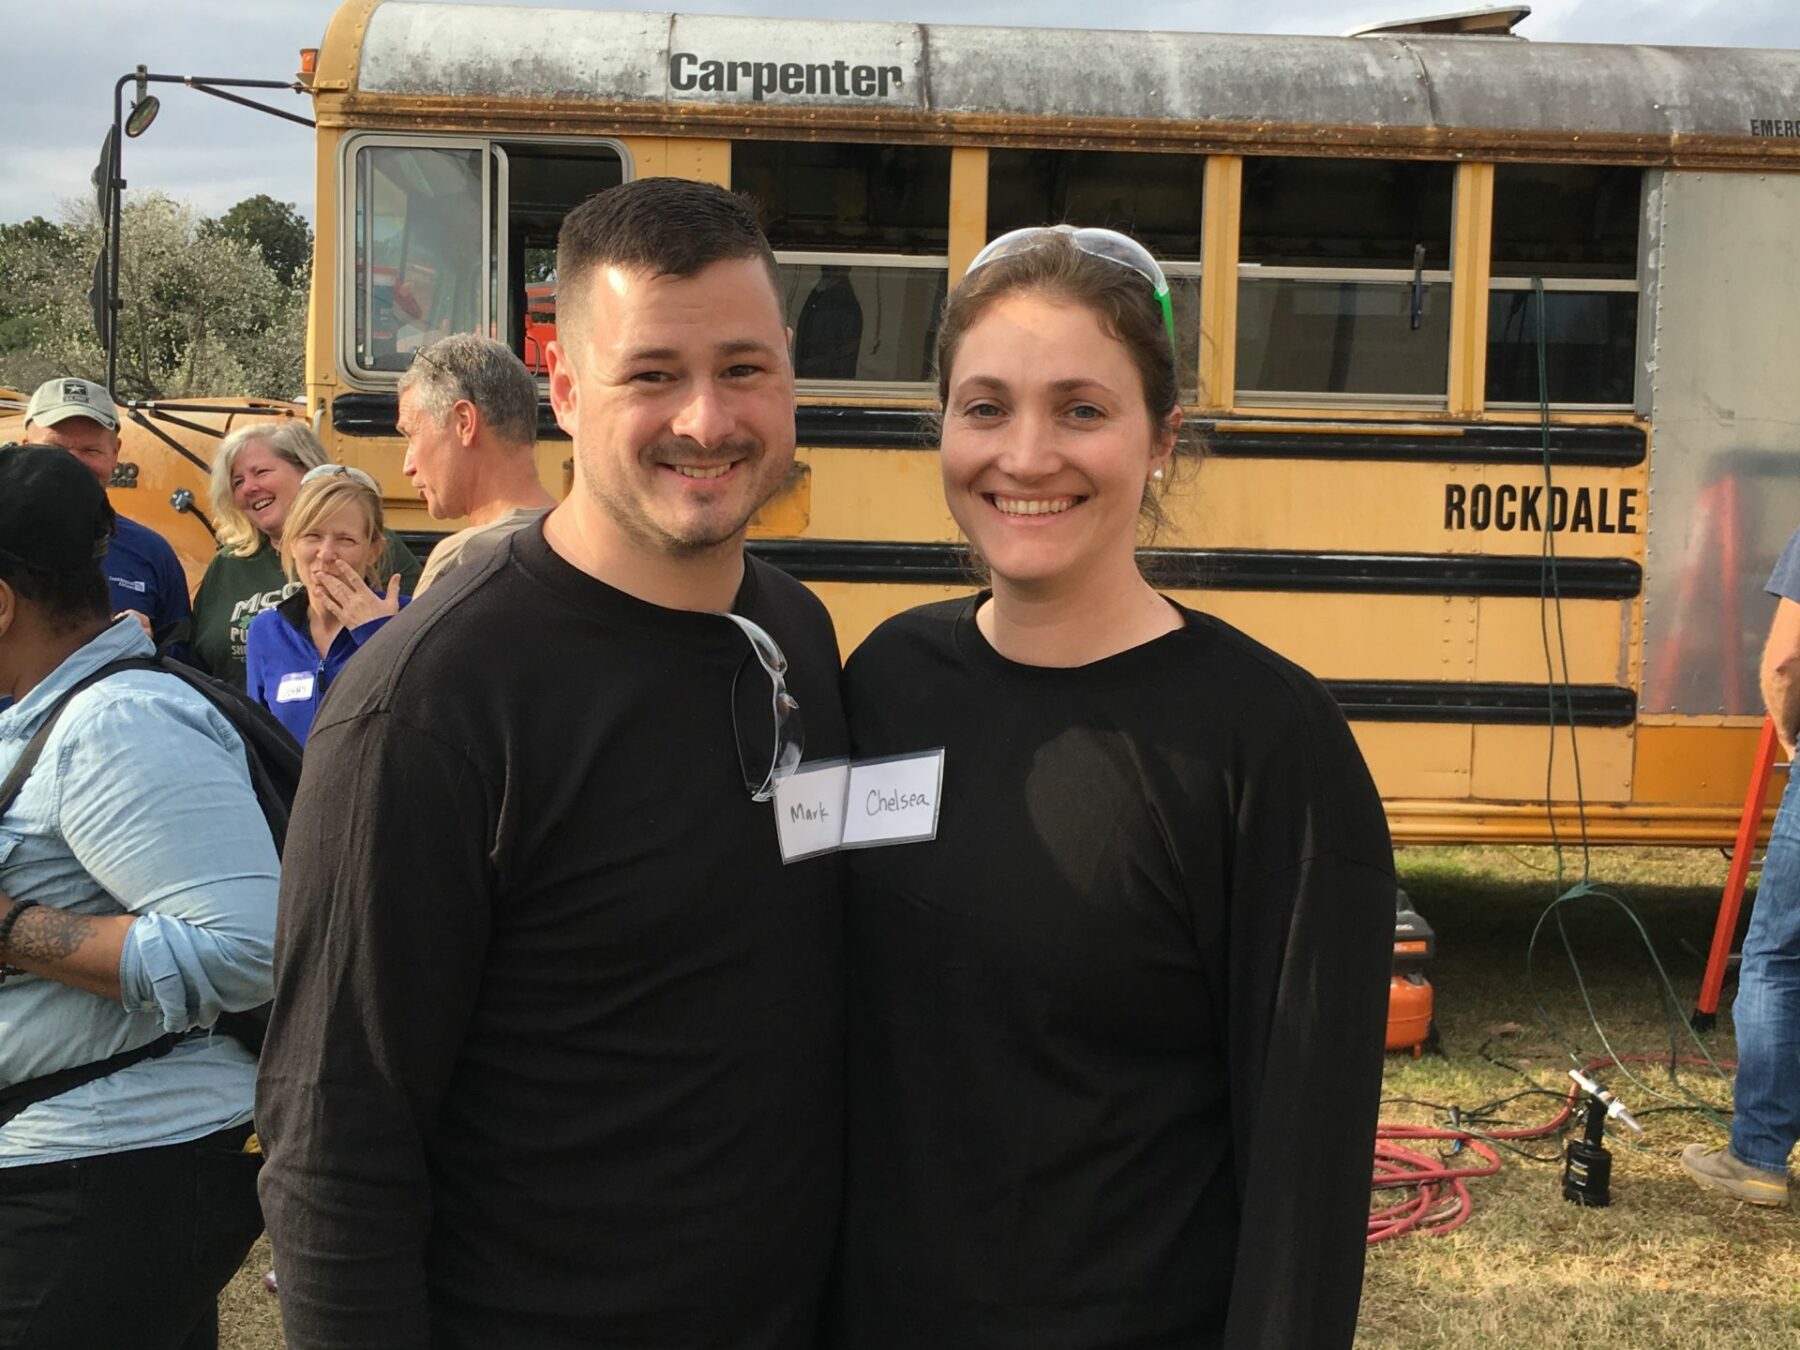
We attended a skoolie workshop in Macon, GA, March 1-3 2019. We learned just about everything we needed to know about purchasing, demoing, and building a skoolie. Michael Fuehrer of Navigation Nowhere, Roman of Little Groundhog, and Chris Schapdick of Tiny Industrial covered everything from framing and insulation to solar pluming and registering a skoolie.
The three day long event definitely wore us out, but it was great to be around a group of like-minded people who were living the life we were trying to live. There were a number of converted busses and vans in varying states of the build. It was neat to see the ones that were full time homes, while others were more of a traditional RV that were used for occasional travel.
The Skoolie Workshop
If you have the opportunity to attend this event of something similar, we highly recommend it. It afforded us the opportunity to do a number of things we had never done and likely wouldn’t get to do until actually purchasing our own bus and doing it for real. We asked questions we had never thought of before and got answers from people who really knew what they were talking about.
Day 1
Chelsea and I were two of 30 people who purchased tickets to the workshop portion of the event. It was a little rainy, but no one in our group let that stop them. We started the day on a school bus that had been “donated” for the purpose of teaching us. The idea was that we were going to build the donated bus into a skoolie in three days. We all joked that we should have donated our own bus, and have a finished skoolie at the end of it. It obviously didn’t go quite like that and I am not sure I would have wanted 30 strangers (with varying degrees of interest and skill) working on my bus.
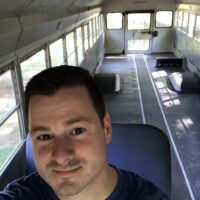
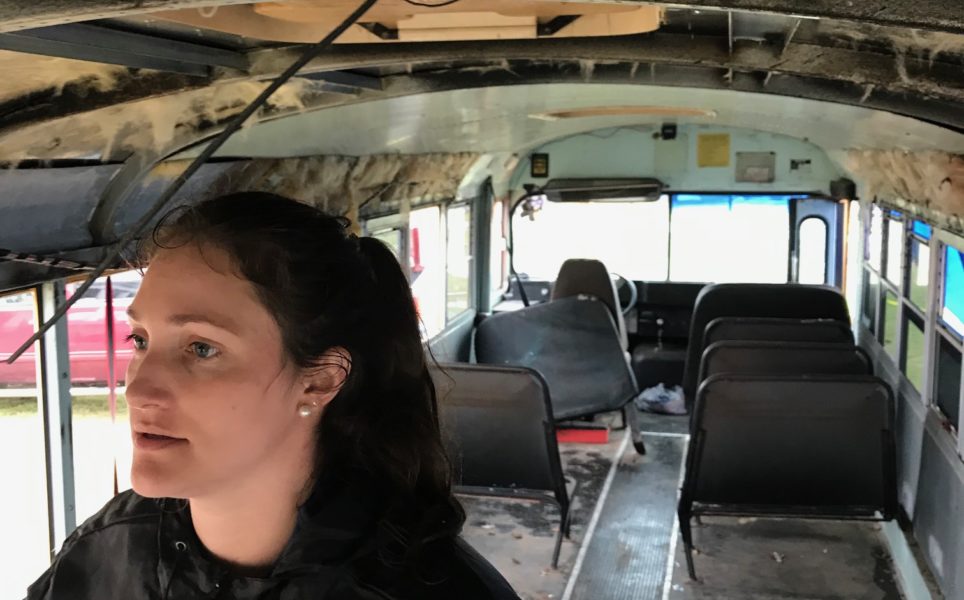
The first thing we set out to do was remove everything we didn’t need. That included the seats, the ceiling panels, the walls, insulation, the rubber flooring, everything. We started taking off the child lights and the stop sign; we removed all the windows and set them aside to be reinstalled and within an hour, we had run out of things to remove.
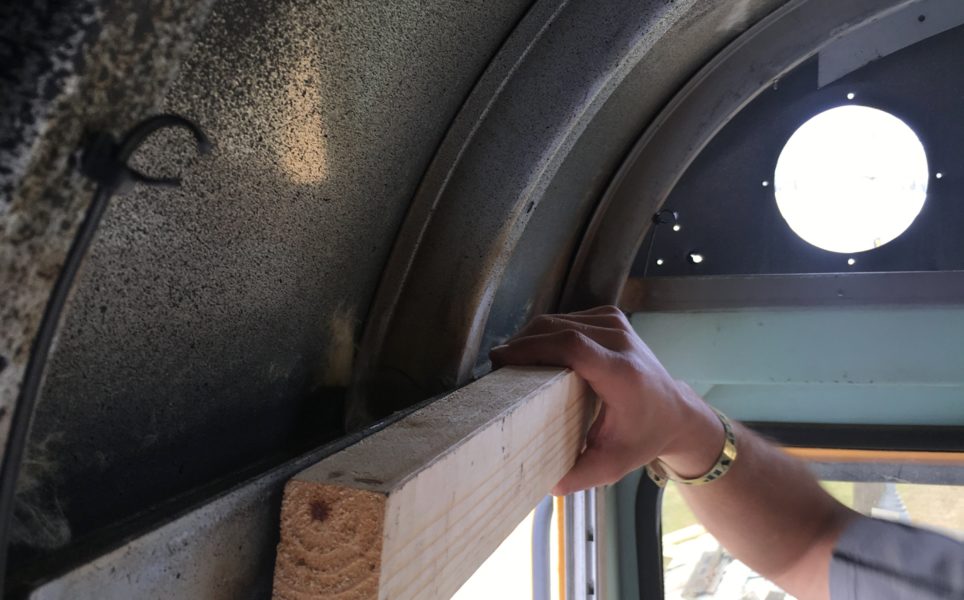
We learned some interesting things about which busses had what, like where structural supports were and whether the ribs went all the way from the floor, arching to make the roof, and back to the floor on the other side. The bus we were working on was a Thomas, and you can see in the picture below, the roof ribs go from the top of each window, so they do not extend all the way to the floor.
Some busses have rivets holding everything together which are obviously more difficult and time consuming to remove than regular screws. Chelsea and I both agreed we’d be looking for a bus with screws as opposed to rivets.
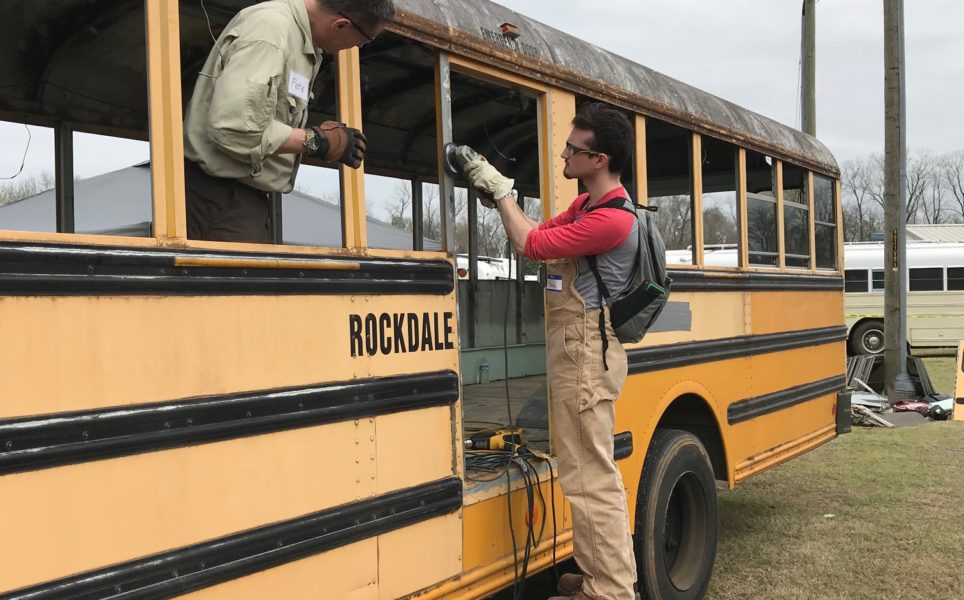
Our group finished working on the inside of the bus and moved to the outside of the bus removing lights, mirrors, and any stickers or reflective markings on the bus. We discussed what else would need to be done to prepare the bus for paint, and discussed paint options.
Day 2
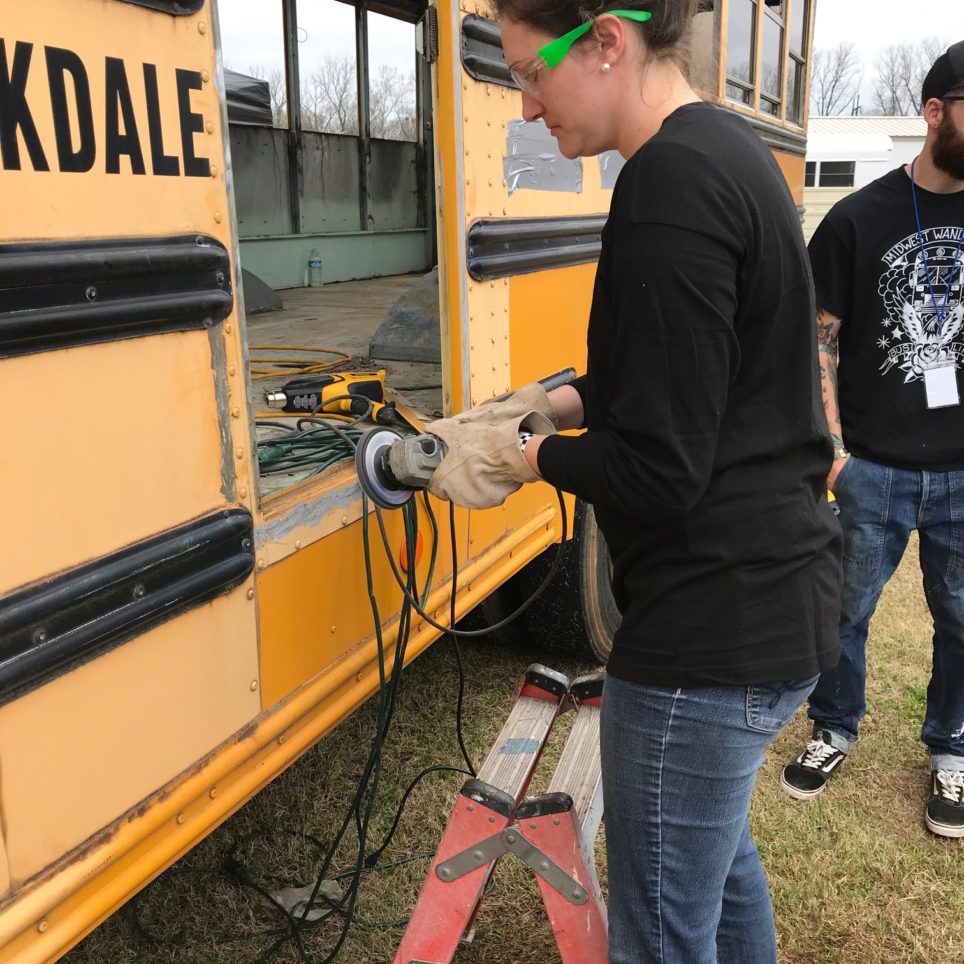
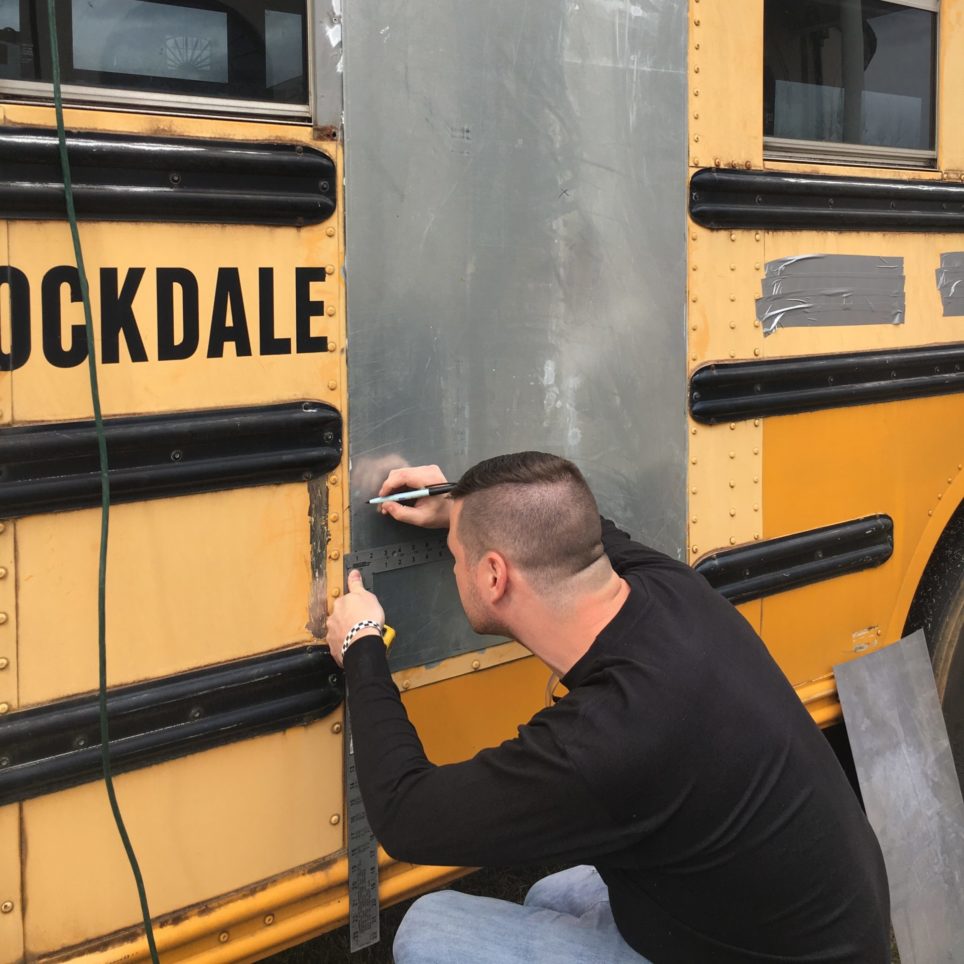
On the second day we started working with some metal. We discussed different ways of cutting the metal and got to try out a few tools. The instructors had decided that we should remove the side emergency exit and patch it over with metal. We removed the door, cut a sheet of metal to size, fit it to the door and marked where we were going to install it, ground down the edges with an angle grinder and flap disk, drilled holes and riveted over the door of the bus.
We each got to try using the power metal shears on a piece of scrap metal and the person with the best line got to cut out the panel that would cover the door. Of the approximately 10 people in the group, Chelsea had the best line!
In addition to the metal work we went through an in depth lesson on the electrical system where Roman set up a basic system on a piece of plywood. The system included a full size solar panel, a deep cycle battery, a charge controller, an inverter, a circuit breaker, and a switch and a 60w light bulb. We discussed where it made sense to run 120v and 12v electricity and the pros and cons of each, and got to see everyones electrical set up. We talked a lot about building circuits and solar and everything else under the sun. 😉
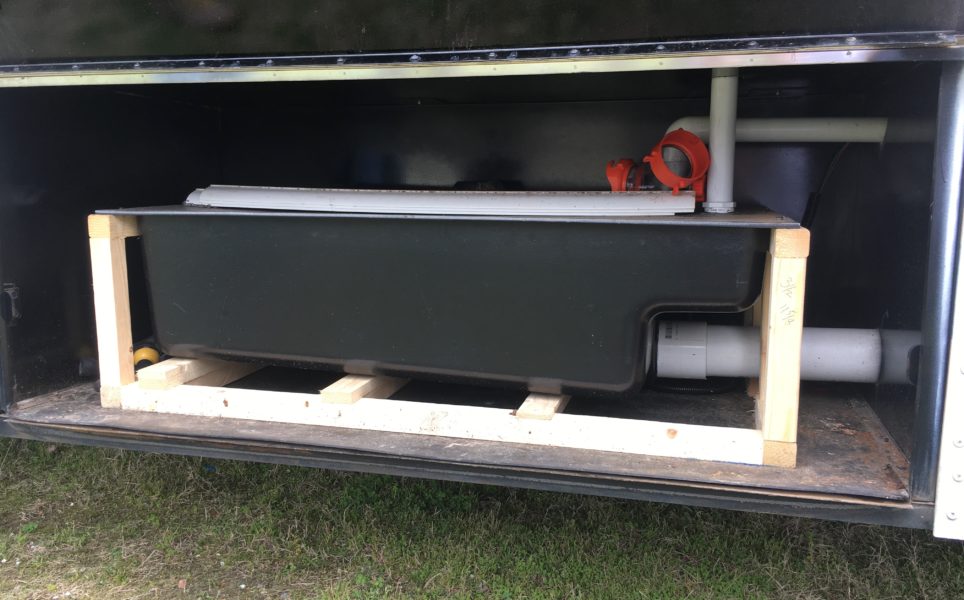
Then it was on to the plumbing station where Chris, like the electricity station, set up a full running water example on a piece of plywood. We talked about the different types of pumps, the various tanks we would need based on what amenities we were planning to have, and how to put it all together.
When discussing the electrical and plumbing, we walked around to the instructors busses to checkout their set ups.

Day 3
On the third day we mostly discussed framing, building walls, and insulation. They told us about spray foam insulation and we each got to install some framing into the bus that would make the build easier after insulation had been sprayed. The rest of the day (as well as the days prior) we explored the rest of the grounds, met some fantastic people, toured their busses and asked every question we could possibly think of.
The experience was truly invaluable. If you have the opportunity to attend a workshop like this one before purchasing a bus, I highly recommend taking it. We are far better off having experienced it.
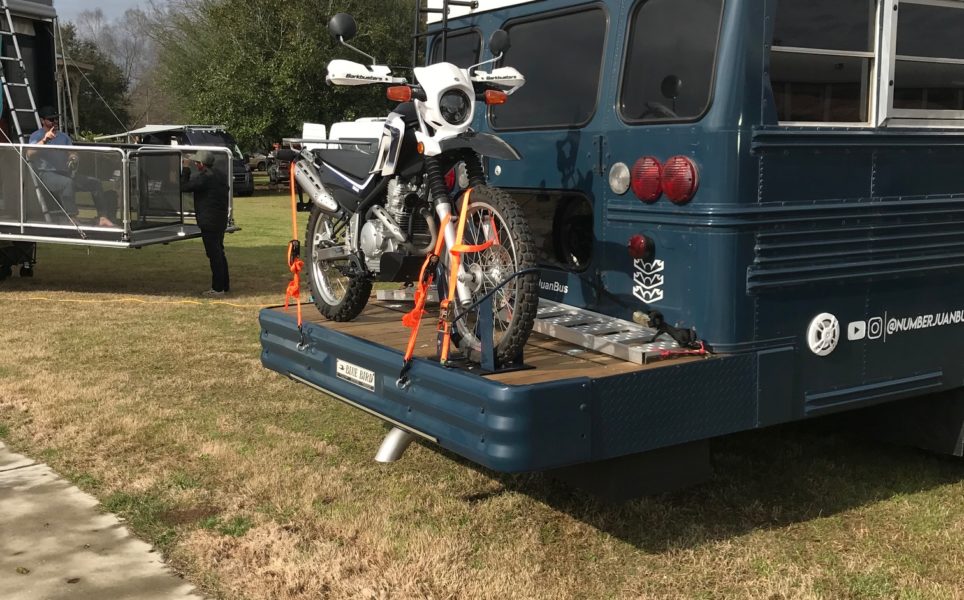
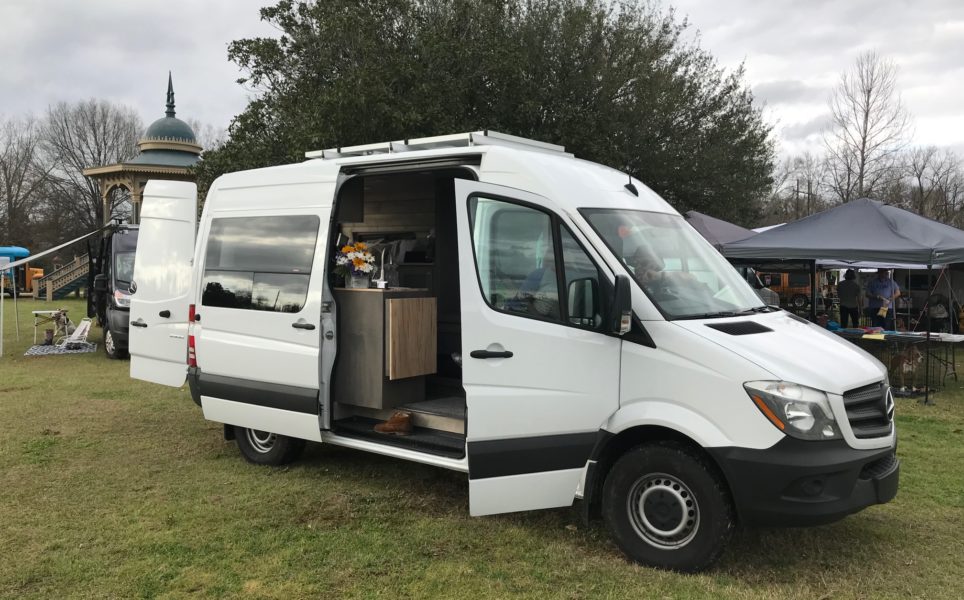
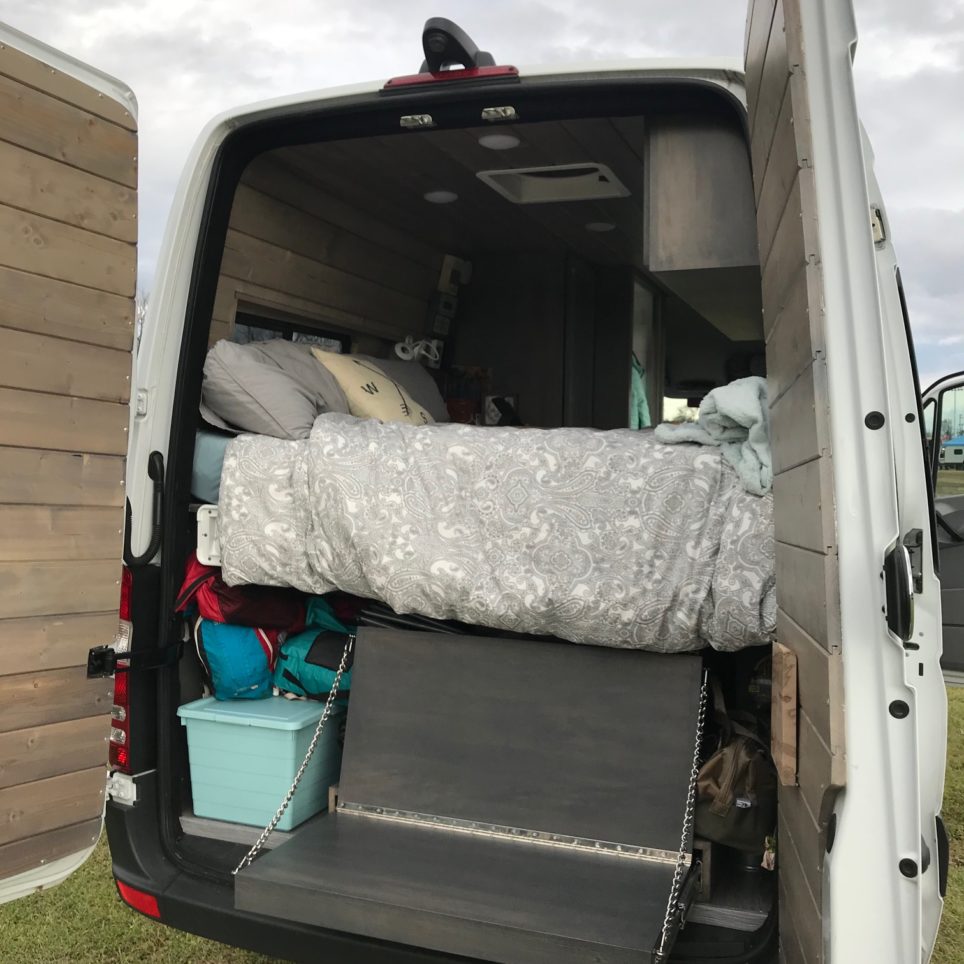
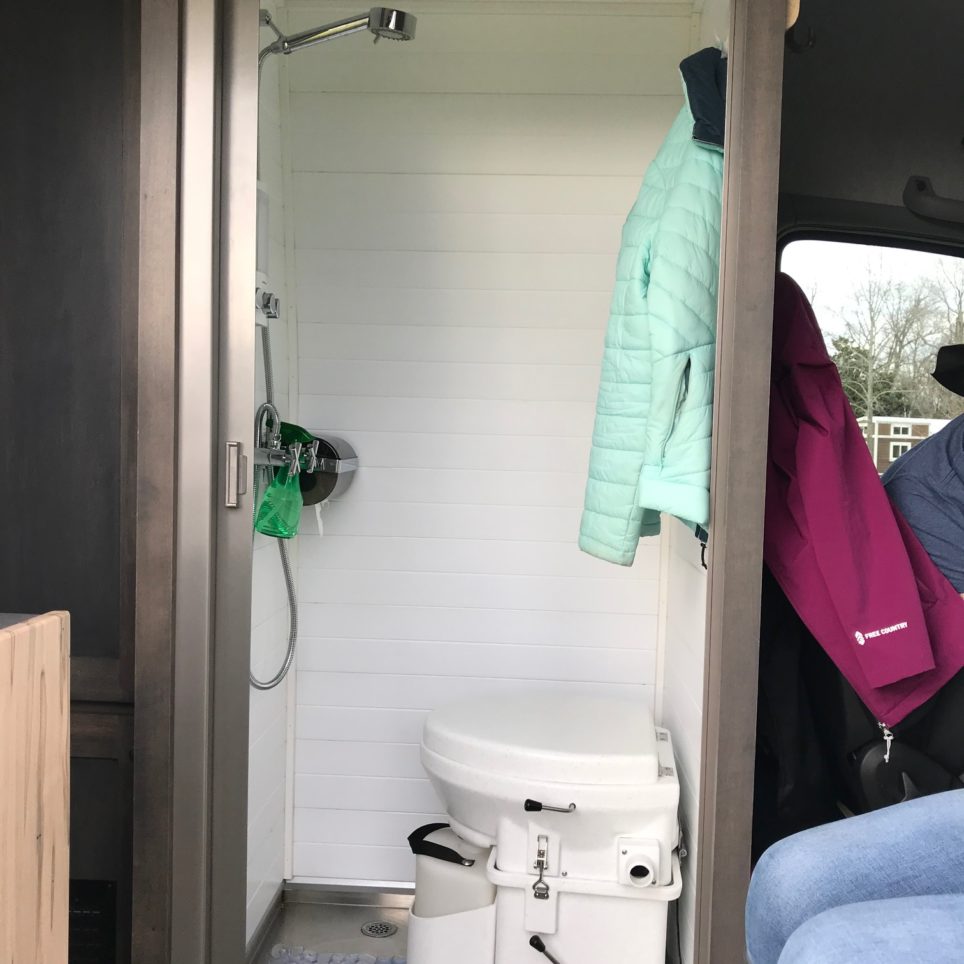
Below are a few more pictures from the workshop/festival.